🏁Arduino Reaction Duel Game - Test Your Reflexes with a Fun DIY Project🏁
Welcome back to electronicmindset.com
If you are a beginner , then this article is the best for your weekend arduino project!
In this project, we'll build a two-player reaction time duel game using Arduino.
Players compete by pressing their buttons as fast as possible when the LED lights up
The winner (The fastest presser) is displayed on an I2C LCD with their reaction time.The buzzer adds extra excitement by signaling the start and celebrating the winner.
It's simple, fun, and perfect for beginners that want to build a simple game using arduino!
So Let's get started !
Table of contents
- Components You Will Need 🛠️
- Circuit Diagram
- Write the Arduino Code 💻
- Upload the sketch
- Test the circuit
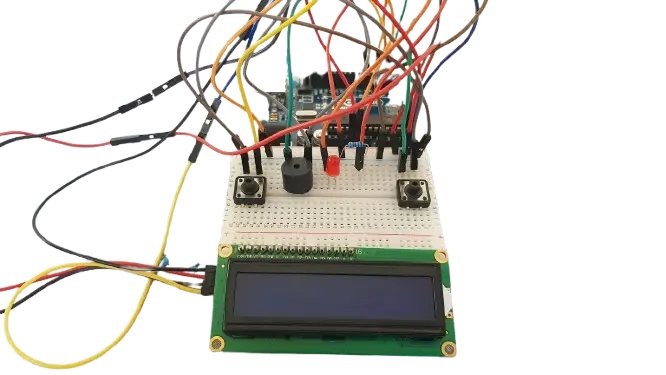
Prototype:
To make this project ,you have to follow these steps:
Step 1: Gather your materials.
You will need:
- Red Led (you can choose any color)
- 220 ohms resistors
- DC Buzzer
- 2 Pushbutton
- LCD with I2C module
- breadboard
- Arduino Uno or any Arduino type
- Cable of arduino
- Jumper wires
- Laptop or computer
Step 2: Build the circuit.
Don't worry, building the circuit is very simple if you follow these steps:
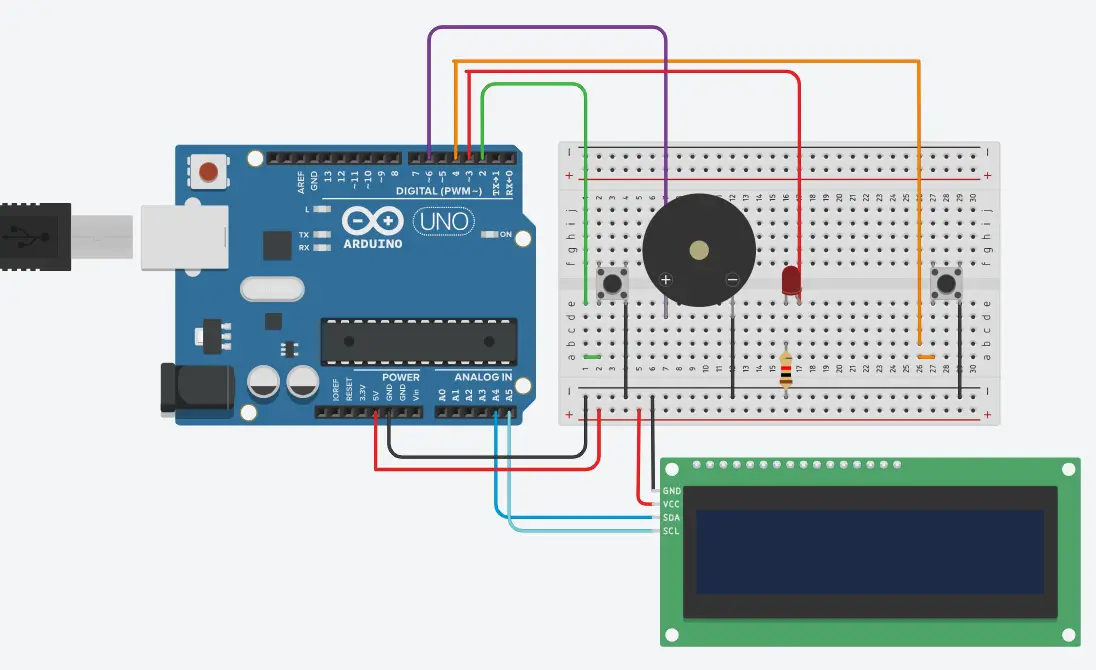
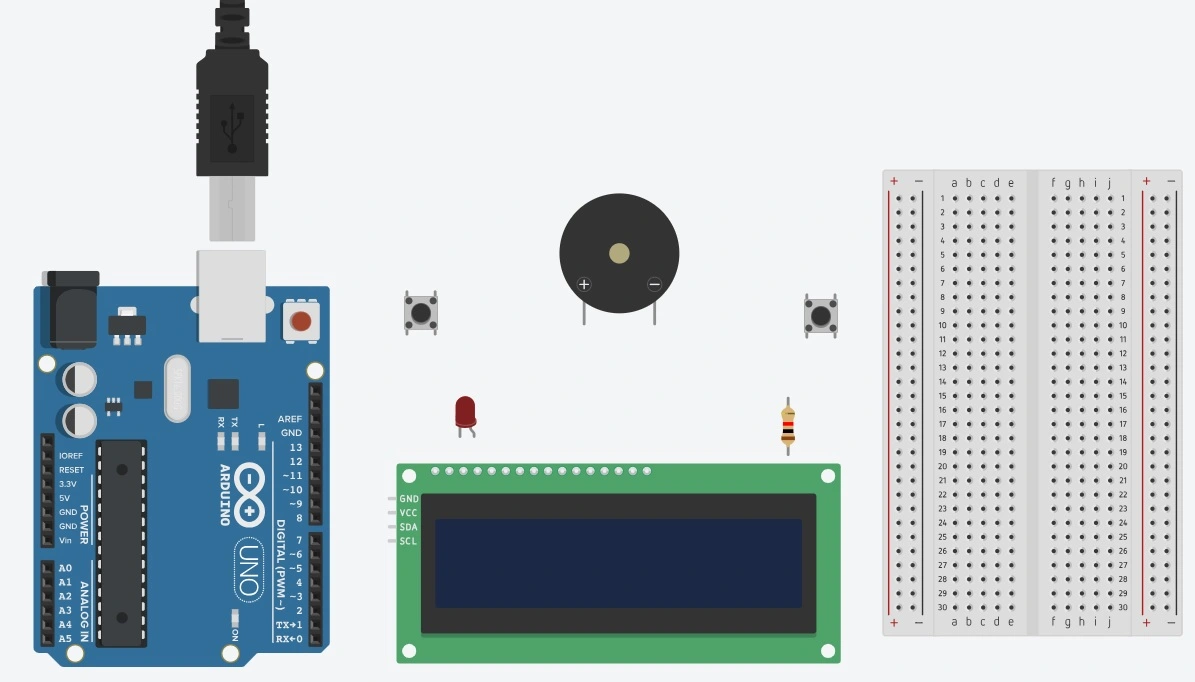
First, for the lcd , connect VCC to 5V and GND pin to GND and connect SDA to A4 pin and SCL to A5 pin .
Then , connect the DC buzzer positive leg to digital pin 6 and its negative leg to GND.
Keep in mind, Two pushbuttons represent the players: Player 1's button connects to digital pin 2 and Player 2's button to digital pin 4, with the other leg of each button connected to GND.
For the Red LED, connect the cathode pin (the shorter lead ) through a 220 ohm resistor to GND and connect the anode to pin 3.
All of this , is connected to the breadboard using jumper wires !
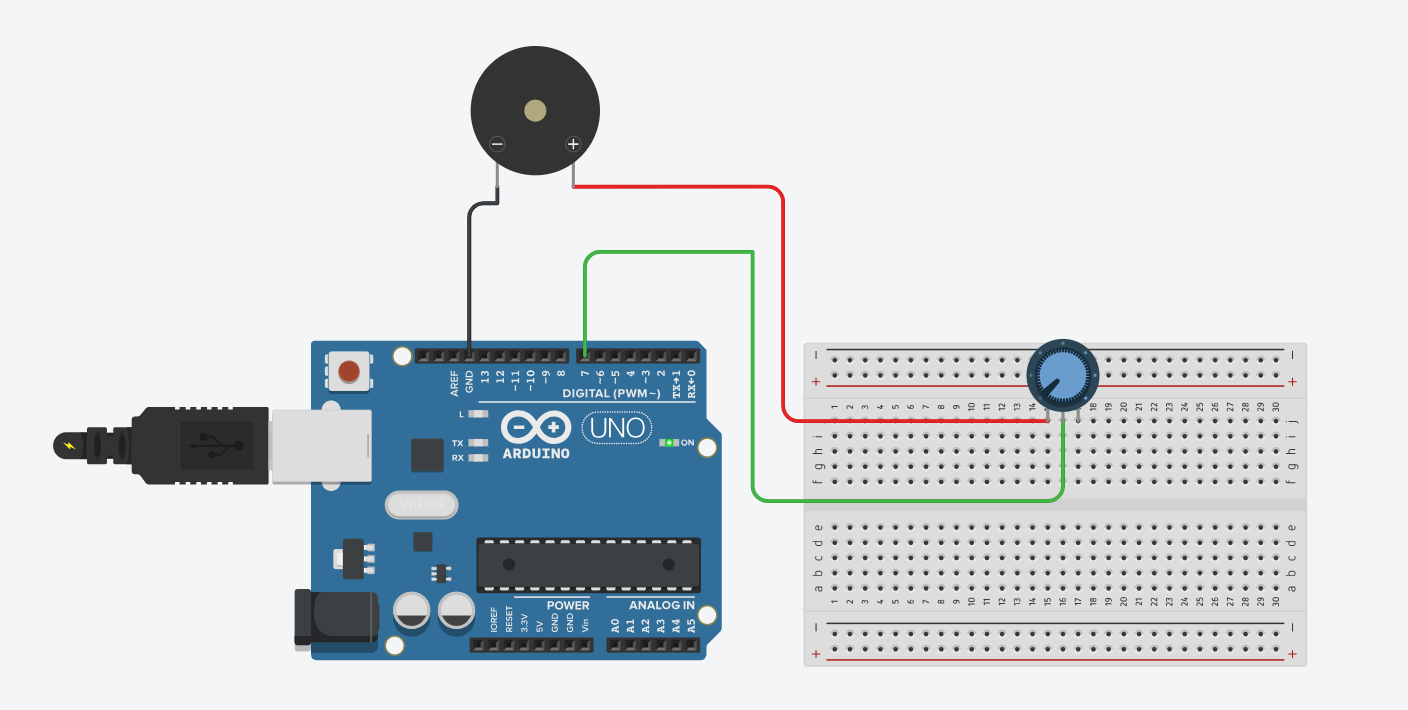
The schematics below will help you build the circuit just in case you don't understand:
Step 3: Write the code
Open the Arduino IDE on your computer, and write the following code:
// Source: https://electronicmindset.netlify.app/projects/how-to-play-fur-elise-in-arduino

#include <Wire.h>
#include <LiquidCrystal_I2C.h>

// Reaction Time Duel Game with LCD & Buzzer

LiquidCrystal_I2C lcd(0x27, 16, 2); // Change if needed

const int ledPin = 3;
const int buttonplayer1 = 4;
const int buttonplayer2 = 2;
const int buzzerPin = 6;

bool duelStarted = false;
unsigned long reactionStart;
bool winnerDeclared = false;

void setup() {
  pinMode(ledPin, OUTPUT);
  pinMode(buttonplayer1, INPUT_PULLUP);
  pinMode(buttonplayer2, INPUT_PULLUP);
  pinMode(buzzerPin, OUTPUT);

  lcd.init();
  lcd.backlight();
  lcd.setCursor(0, 0);
  lcd.print("Reaction Duel!");
  delay(2000);
  lcd.clear();
}

void loop() {
  if (!duelStarted) {
    lcd.setCursor(0, 0);
    lcd.print("Get Ready...");
    delay(random(2000, 5000));

    digitalWrite(ledPin, HIGH);
    lcd.clear();
    lcd.print("GO!");

    // Beep when "GO!" appears
    tone(buzzerPin, 1000, 200);

    duelStarted = true;
    winnerDeclared = false;
    reactionStart = millis();
  }

  if (duelStarted && !winnerDeclared) {
    if (digitalRead(buttonplayer1) == LOW) {
      unsigned long reactionTime = millis() - reactionStart;
      declareWinner("Wassim", reactionTime);
    } else if (digitalRead(buttonplayer2) == LOW) {
      unsigned long reactionTime = millis() - reactionStart;
      declareWinner("Mom", reactionTime);
    }
  }
}

void declareWinner(String name, unsigned long time) {
  winnerDeclared = true;
  duelStarted = false;
  digitalWrite(ledPin, LOW);

  lcd.clear();
  lcd.setCursor(0, 0);
  lcd.print(name);
  lcd.print(" Wins!");

  lcd.setCursor(0, 1);
  lcd.print("Time: ");
  lcd.print(time);
  lcd.print(" ms");

  // Play victory sound
  for(int i=0; i<3; i++){
    tone(buzzerPin, 1500, 150);
    delay(200);
  }

  delay(3000);
  lcd.clear();
}
Step 4: upload the sketch
First ,copy the code and paste it, then click on the checkmark icon (✓) on the top left corner of the IDE to verify that your code compiles without any errors.
Go to the "Tools" menu and select the appropriate board type ( Arduino Uno, Nano, etc...)
Then go to "Ports"submenu and select the port to which your Arduino board is connected. On Windows, it is shown as COMX, while on macOS, it shows as /dev/cu.usbmodemxxxx.
Once the correct board and port are selected, click on the right arrow icon (→) next to the checkmark to upload the sketch to the Arduino board.
Use of a battery
Keep in mind that the circuit that you have made is powered by your computer via the USB port.
If you want to power your arduino with 9V battery, make sure the positive terminal is connected to VIn pin in arduino and the negative terminal connected to GND pin .
Step 5: Test the Circuit
After uploading the code, it's time for fun.Connect the Arduino to power and make sure your LCD, buttons, and buzzer are working correctly .
Both players should place their fingers on their respective buttons and get ready. When the LED lights up and the buzzer beeps, press your button as fast as you can.
The LCD will immediately show who reacted first and display their reaction time in milliseconds.After a few seconds, the game resets automatically so you can play round after round, trying to beat each other's times.
It's a simple but exciting way to test your reflexes and have a friendly competition!
Congratulations 🎉 You've just built your first game using arduino to test your reflexes and compete with your friends !